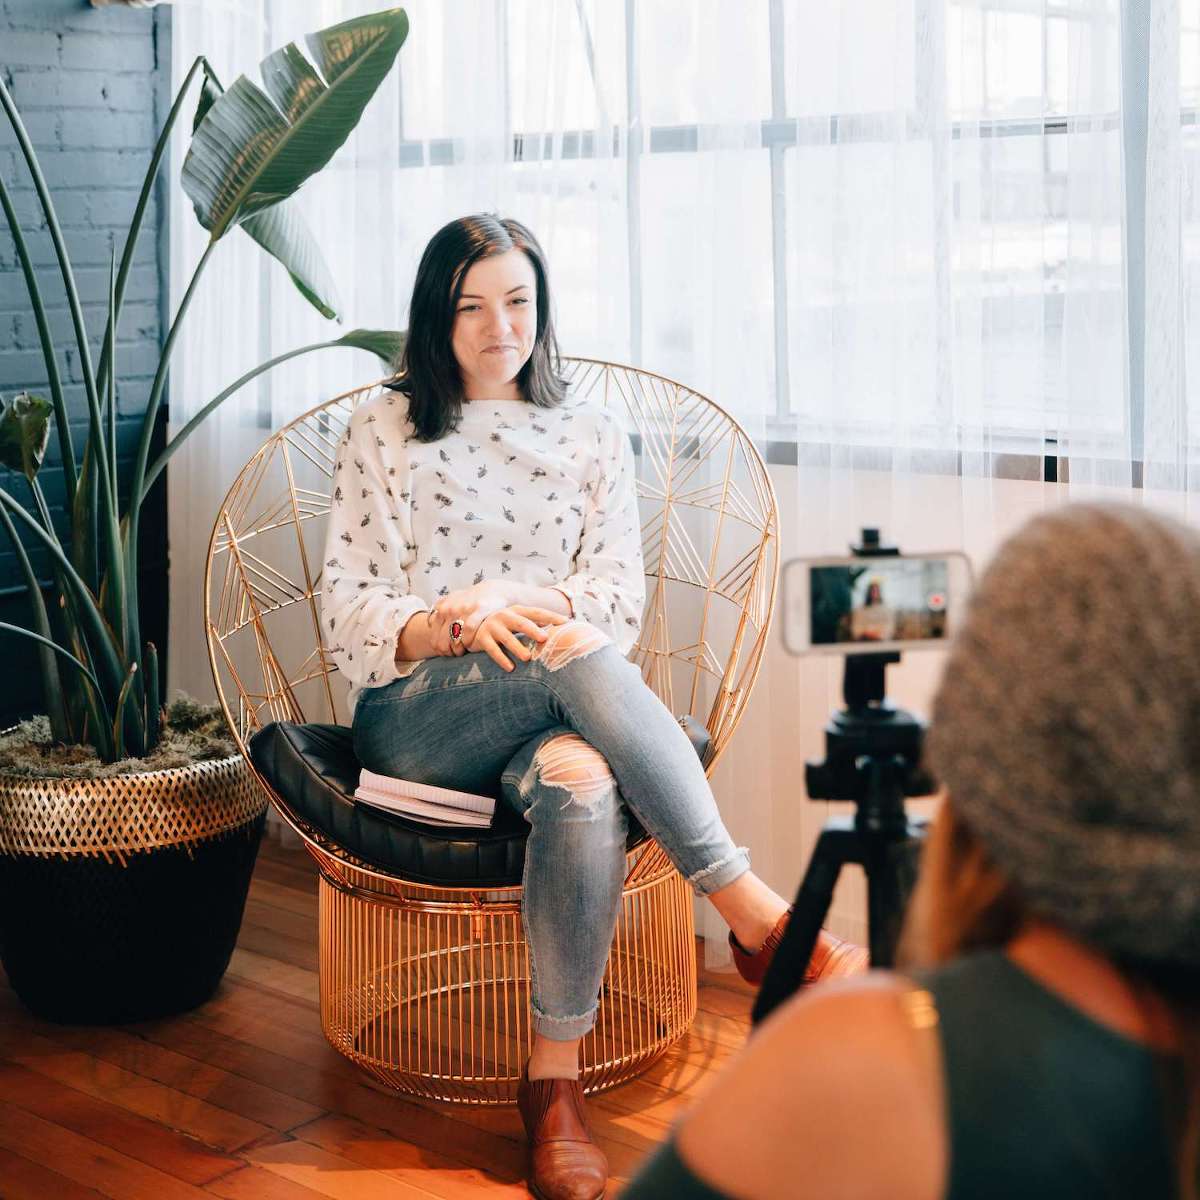
Is a DIY iPhone wedding video even possible? If you’re eloping but still wanting to include family members in the experience or on a tight budget but want a video of your wedding that’s a step above Uncle Steve with a camcorder, this is for you. I’m sharing my best tips for DIY-ing your wedding video or your elopement video with your iPhone.
Watch how to DIY your Wedding Video + Subscribe to my channel on YouTube
Ok, let’s get into the tips for filming your own wedding or elopement video with your iPhone.
DIY iPhone Wedding Video Tip #1 – Use a tripod
If you’re eloping or filming your own wedding, you obviously won’t have a free set of hands to hold your camera. So, bring a tripod that you can set your camera on during the ceremony. If possible, set up the camera at the “end of the aisle” so you can see both yours + your partner’s faces during the ceremony. You can turn on gridlines on your screen in order to center yourselves in0 the frame.
Tip #2 – Use focus + exposure lock
When you tap on the screen of your iPhone camera, a little yellow box appears. When you tap + hold, it locks the exposure + focuses on that point so you can make sure that your faces will be both in focus + not too dark or too light.
Tip #3 – The pocket method for up-close audio
I go through the pocket method in detail in this post on better iPhone audio, but basically, if your partner or officiant has a phone on them, use one phone for the video + with the other phone, start a voice memo to record the audio from your ceremony. If you’re in a windy place like a mountaintop or a beach, this can be really helpful to make sure your voices are still heard over the ambient sounds of your destination. Place the voice memo phone in a jacket pocket so that it’s not obvious in the photos or video but still able to pick up your voices.
Tip #4: Remember to turn on airplane mode
If you’re using your phone to film or record for your wedding, you’ll want to make sure you put the phone in airplane mode so no notifications, texts or calls interrupt the moment.
Tip #5: Detail shots for your DIY iPhone wedding video
There are two ways to capture the other details of your elopement or wedding day. One is to use the photos provided by your wedding photographer. I recommend adding some movement to the photos to keep it from getting too static.
The other method is to just capture a few video clips on your iPhone – this is home video style, so don’t be afraid to take selfies. If a friend or family member is attending, you can ask them to take a few clips for you.
When I work with clients on their DIY wedding videos, I always suggest these extra details – getting ready, any outfit details like your shoes or rings, traveling to your ceremony destination, any cute romantic moments like kisses, hugs or dancing.
Tip #6: Back up your wedding video ASAP
Once your wedding ceremony is over, make sure to back up the video file + voice memo to another place. You could do this my air-dropping the files to each other or a third party. You could also install an app like Dropbox or Google Drive on your phone to upload your video there as soon as you get off airplane mode. As someone who lost the audio files for her own wedding after misplacing a memory card, make sure you make a backup.
Tip #7: Putting your DIY iPhone wedding video together
When I’m going through a client’s wedding video, I try to choose little clips to share from each section of the ceremony + especially include snippets from the vows. Watch the video above (starting at 6:10) to see me talk through my process of how + why I chose various clips to include. Hiring a video editor makes this process easy because all you need to do is hand off the footage and let me work my magic!
Want to work with me on creating a unique DIY iPhone wedding video? Perfect for sharing an elopement with friends + family, playing at your reception, or as a keepsake of an amazing destination wedding! Here are the details for my wedding video editing packages.


